Sections in Revit are 2D views that show a slice through the model. They are useful for showing the internal structure and details of your design.
In this blog post, you will learn how to create and edit Revit sections and how to use them in your sheets and presentations.
Create a Section
A section in Revit is a 2D view that shows a slice of your 3D model along a specified plane.
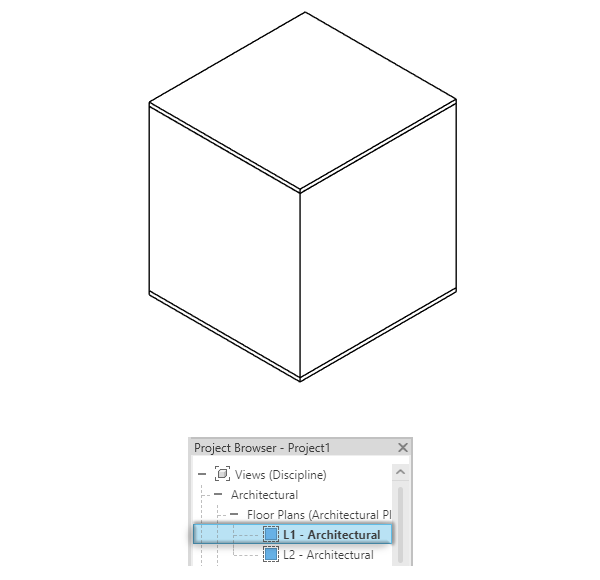
You can create a section by drawing a section line on a plan. So get ready by opening a plan view.

The section line defines the direction and extent of the cut, and the section view shows the result of the cut. You can adjust the section line to change the depth, angle, and location of the cut.
Steps
- Open the view where you want to draw the section line.
- Go to the View tab > Create panel > click Section.
- Left-click to set the start point of the section line.

- Drag to draw the section line.
- Left-click to set the end point of the section line.

✨ Tip: Click the little recycle icon to reverse the direction of the section line.
To open the section view, you can either double-click on the section head, or go to the Project Browser and locate the section under the Sections category.
Finally, don’t forget to add annotation symbols and edit the Visibility Graphics and Graphics Display options from the View Control bar to make the section pop up and fit into your project presentation.

See how adding curtain walls and openings can enhance your sections.
Section Types
Revit offers different types of sections for different purposes, such as:
1. 3D Section: A section box that provides a more thorough view of the internal structure of the building by displaying a sectional view in three dimensions.
2. Building Section: Provides a vertical cut through all or part of the building. Useful for showing the internal details and relationships between different floors or sections of the building.
3. Detail Section: Focuses on a specific area of the model, providing a more detailed view of a particular part of the building or an element within it. Often in custom scales such as 1:5 and 1:10 to show construction details.
4. Wall Section: Specifically highlights details related to walls, such as their construction layers, materials, and connections with other building components.
5. Callout Section: A section view that is typically smaller in scale and references a specific detail or area from the main floor plan or elevation.
6. Ceiling Plan: Represents a horizontal cut through the building, showing the layout and details of ceilings and roof elements. Learn how to create sloped ceilings
7. Floor Plan Section: Offers a view of a specific floor level, displaying details related to walls, doors, windows, and other elements on that floor.
8. Site Section: Highlights the relationship between the building and its surrounding site, including terrain, landscaping, and other contextual features.
Understanding Revit Sections and how they work will improve your ability to design, document, and present.
Mohamed Fakhry has helped thousands of architects and designers find their next project with step-by-step guidance on his blog, mashyo.com. About Mohamed
His journey began during his university years when he recognized the need for information-rich 3D models to accelerate learning and improve production processes. Now, Mohamed shares his expertise through Revit tutorials that are accessible to all.

