
Hatch patterns for Revit are small text files with the .pat extension. Revit calls them fill patterns. Import one and you can use it in a filled region, in a material, or on the cut surface of a wall in a section. This page gives you 12 free Revit hatch patterns (brick, gravel, earth, concrete and more), then shows how to add a hatch pattern in Revit, tell drafting from model patterns, fix a pattern that looks too big or too small, and rotate it.
All patterns come in one .pat download that is already set up for Revit, so you can import it in a minute and pick any pattern from it. Jump to the free download.
Quick answer
To add a hatch pattern in Revit, import its .pat file:
- Go to Manage tab > Settings panel > Additional Settings > Fill Patterns.
- Under Pattern Type, pick Drafting (for section symbols) or Model (for real-world surfaces like brick or tile), then click the New fill pattern button.
- Set Type to Custom, click Browse, pick your .pat file and choose a pattern from it. (Revit filters the list by the Pattern Type you picked in step 2.)
- Click OK twice. The pattern now shows in every fill pattern list in the project.
No .pat file yet? Get the 12 free patterns below.
Free Revit Hatch Patterns: 12 PAT Files to Download
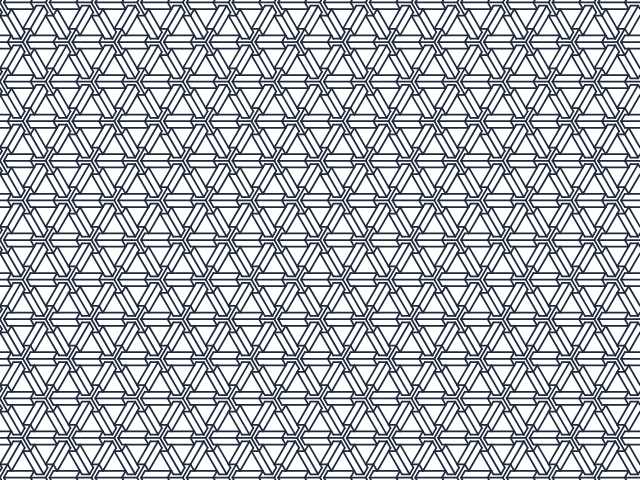
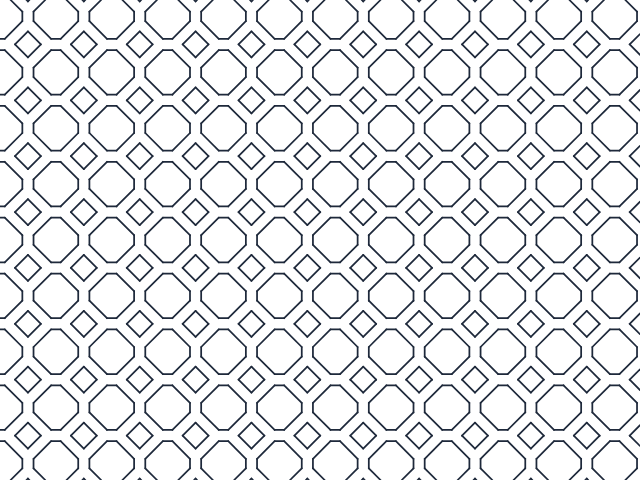
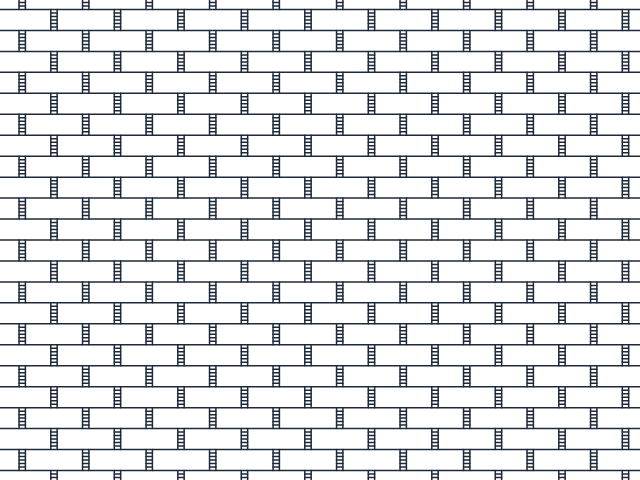
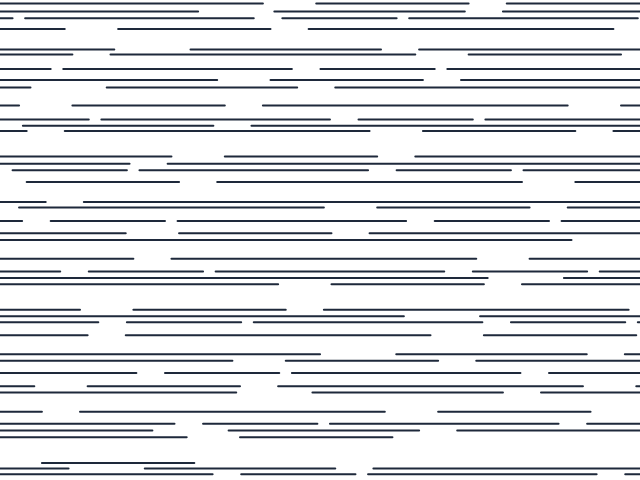
The pack comes with the master file Mashyo-Free-Hatch-Patterns-12.pat (all 12 patterns), plus two dedicated files: Mashyo-Model-Patterns-6.pat and Mashyo-Drafting-Patterns-6.pat. It holds six model patterns (real-world size: brick, concrete block, herringbone, parquet, roof shakes and siding) and six drafting patterns (section symbols: concrete, sand, earth, gravel, insulation and a general hatch). Each one carries the required Revit header lines (;%VERSION=3.0 and ;%UNITS=MM), and all of them are sized to import with an Import scale of 1.
Free download
Get 12 free hatch patterns for Revit (.pat)
Brick, block, herringbone, parquet, roof shakes, siding, concrete, sand, earth, gravel, insulation and a general section hatch. One .pat file, ready to import in Revit.
What Is in the Free Hatch Pattern Pack
Previews below are drawn from the .pat files themselves. Model patterns are shown at real-world size and drafting patterns at their printed size. The pattern name is what you will see in the Revit list.
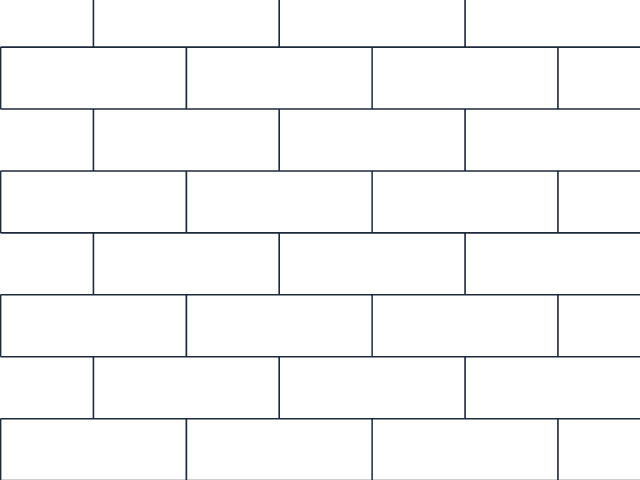
Brick
Brick walls and facades with standard coursing.
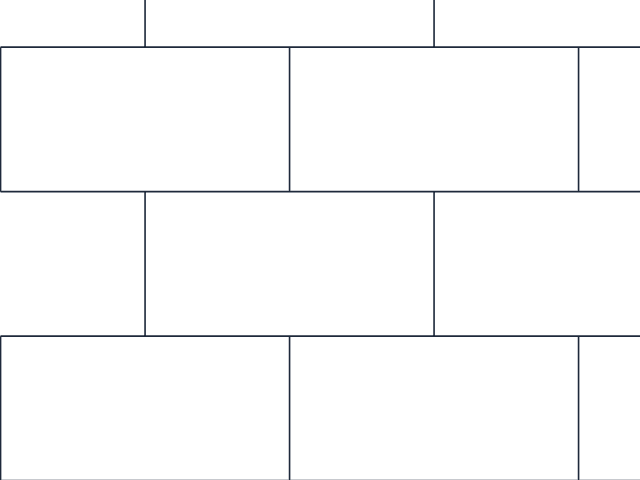
Concrete block
8 x 16 in block walls in plan and elevation.
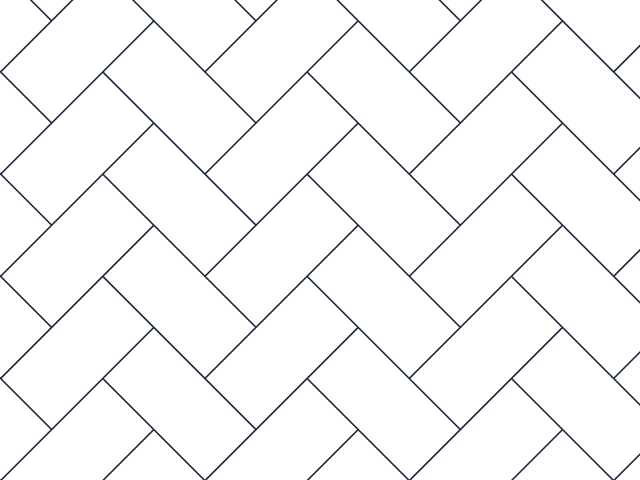
Herringbone
Herringbone paving and timber floors.
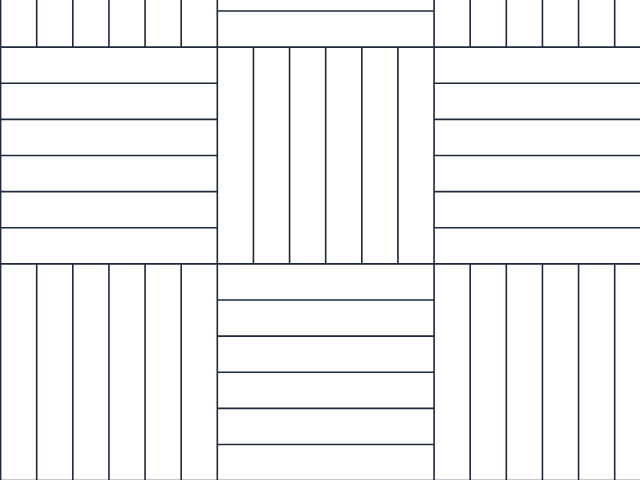
Parquet
Wood strip parquet floors in 12 in squares.
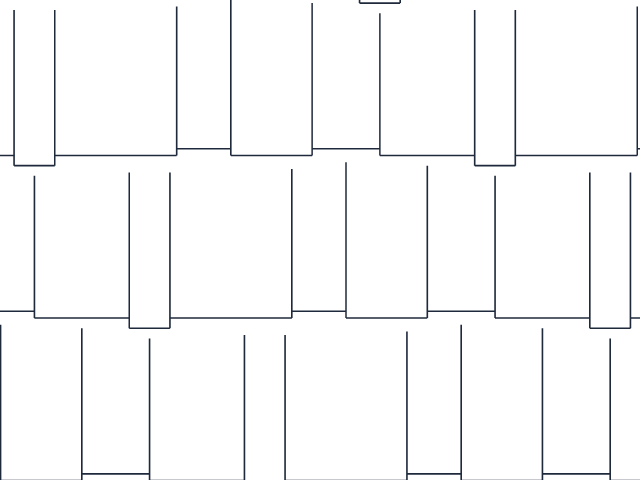
Roof shakes
Shake and shingle roofs.
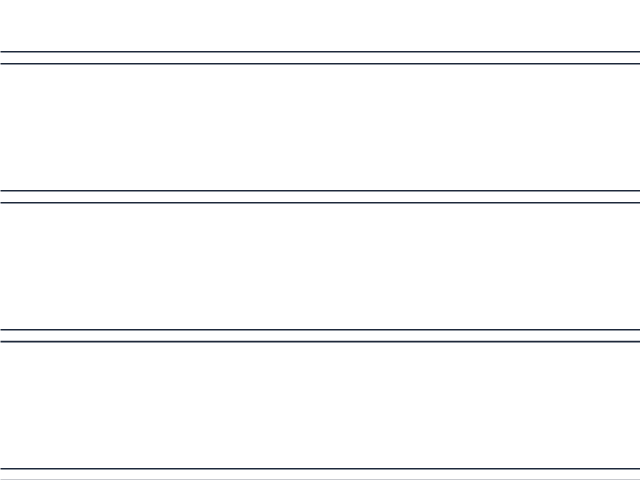
Weatherboard siding
Wood siding with 152 mm boards.

Concrete
Concrete in sections and details.
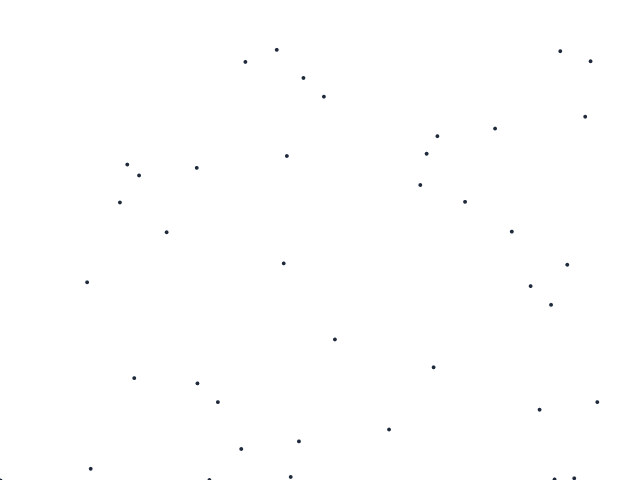
Sand
Sand and bedding layers in sections.
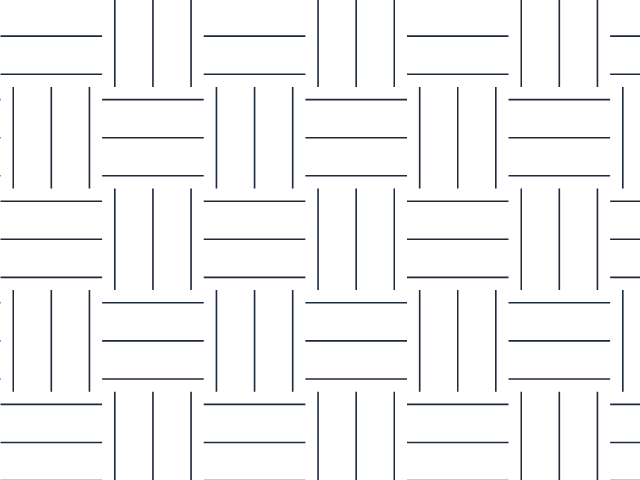
Earth
Soil and ground in site sections.
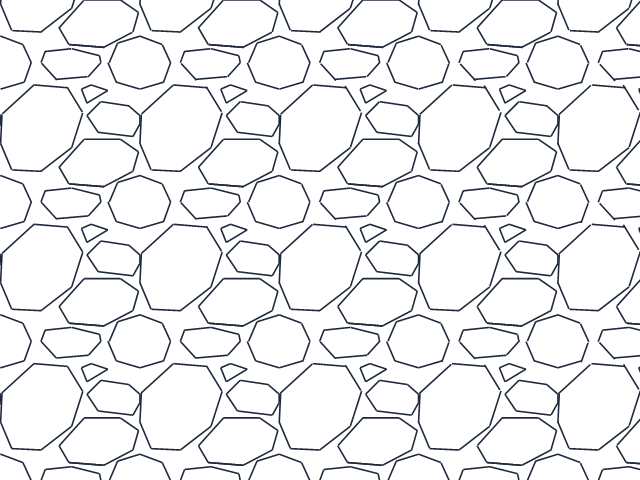
Gravel
Gravel and crushed stone under slabs and paving.
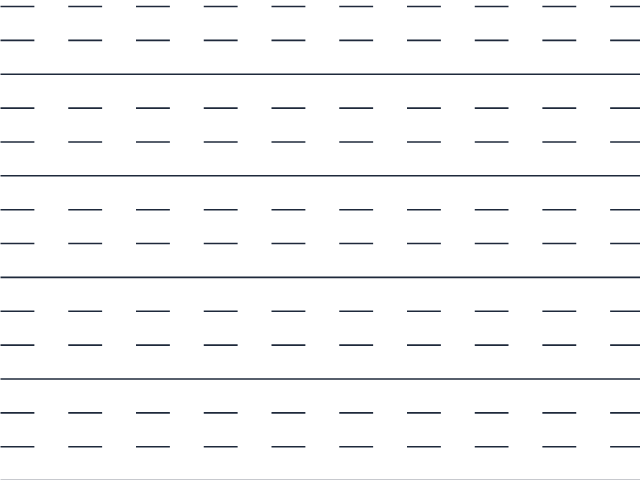
Insulation
Batt insulation in wall and roof details.
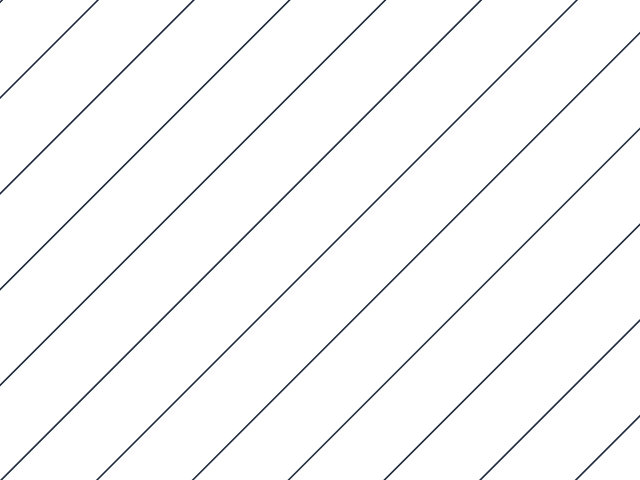
General hatch
Diagonal section hatch (ANSI31) for general use.
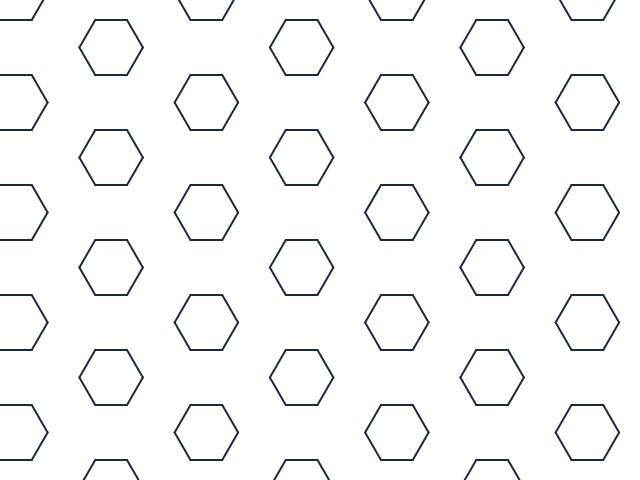
Full collection · Patreon
Want the full hatch pattern collection?
The free pack has the 12 most-used hatches. The collection on the Mashyo Patreon goes further: 127 metric patterns in Revit-ready .pat files (brick, stone, wood, roofing, paving, ground and insulation), grouped by material so you can find one fast.
$5.5/month on Patreon, cancel anytime. One membership unlocks the hatch collection and all Mashyo practice files. See the full file library.
How to Add a Hatch Pattern in Revit (Import a PAT File)
You do not need a plug-in. A .pat file is plain text, and the Fill Patterns window in Revit reads it directly. These are Autodesk’s steps for Revit 2027, in plain words:
- Save the .pat file in a folder you will keep, such as your office standards folder. Revit stores the imported pattern inside the project, but you need the file again for the next one.
- Go to the Manage tab > Settings panel > Additional Settings drop-down > click Fill Patterns.
- Under Pattern Type, select Model or Drafting. Important: Revit filters the file by this choice! If Drafting is selected, Revit only shows drafting patterns (concrete, sand, earth, gravel, insulation, ANSI31). To import brick, block, herringbone, parquet, roof shakes or siding, you must select Model first.
- Click the New fill pattern button.
- For Type, select Custom.
- Click Browse, select your .pat file (either the master
Mashyo-Free-Hatch-Patterns-12.pator the dedicated category file) and click Open. - Select the pattern you want from the list. A preview shows how it looks.
- Optional: change the name, the Import scale and the Rotation angle. For a drafting pattern you can also choose how it follows the host layers.
- Click OK twice.

Revit imports one pattern from the file each time, so repeat steps 4 to 9 for every pattern you want. To switch between drafting and model patterns, remember to toggle the Pattern Type radio button at the top of the Fill Patterns window, or simply use Mashyo-Model-Patterns-6.pat under the Model tab and Mashyo-Drafting-Patterns-6.pat under the Drafting tab.
💡 Pro tips for managing custom patterns
- Use the Search bar: In large libraries, type any keyword (e.g. “brick” or “herringbone”) in the search field above the list to filter patterns instantly.
- Save to your project template (.rte): Load your office’s standard patterns directly into your firm’s template so every new project starts with them ready to use.
- Test in a drafting view first: Before applying a new pattern to live documentation, draw a quick filled region in a drafting view and zoom in and out to verify line spacing and density.
Drafting vs Model Hatch Patterns in Revit
Every Revit fill pattern is either a drafting pattern or a model pattern. The type decides what happens when the view scale changes. Autodesk puts it simply: a drafting pattern is fixed to the sheet, and a model pattern is fixed to the model.
| Drafting pattern | Model pattern | |
|---|---|---|
| Size is tied to | The sheet. The lines print the same distance apart at 1:20 and at 1:100. | The model. The pattern grows and shrinks on paper when the view scale changes. |
| Stands for | A material as a symbol, such as sand, concrete or insulation. Typical for cut surfaces. | How a surface really looks, such as brick coursing, tiles or parquet. |
| Move or rotate it | No | Yes, you can move and rotate the pattern lines on the element. |
| In the free pack | Concrete, sand, earth, gravel, insulation, ANSI31 | Brick, concrete block, herringbone, parquet, roof shakes, weatherboard |
Quick rule: if the hatch is a symbol for a material in a section or detail, use a drafting pattern. If the lines are real things with a size (bricks, boards, tiles), use a model pattern.
Autodesk’s help also lists limits. A drafting pattern can be up to 10 sq ft in size, with line spacing as small as 1/500 inch. A model pattern can be up to 100 sq ft, and its minimum line spacing is 1/2 inch. Keep your own patterns inside them.
Hatch Pattern Too Big or Too Small? Fix the Scale
A hatch that looks wrong after import is almost always a scale or unit problem. Check which type it is first.
Drafting pattern too big or too small
The size is fixed on the sheet, so changing the view scale will not help. Import the pattern again with a different Import scale: 0.5 makes it half the size, 2 makes it twice as big. Give the new copy its own name, then pick it in the filled region type or the material.

Model pattern too big or too small
A model pattern has a real-world size, so the view scale only changes how big it looks on paper. If the bricks are the wrong size even at full scale, the pattern is the wrong size for your project. Import it again with a different Import scale, or edit the pattern’s values.

About 25 times too big or too small
That number is a sign of an inch and millimetre mix-up, because there are 25.4 mm in an inch. The file and Revit disagree about units. Open the .pat file in Notepad, add ;%UNITS=MM (or ;%UNITS=INCH) as the first line, save it and import the pattern again. Autodesk’s file format page lists this line. If you also work with different project units, set those first.
How to Rotate a Hatch Pattern in Revit
It depends on the pattern type and your Revit version.
- At import (custom patterns): the New Pattern window has a Rotation angle box. Type an angle and Revit saves the result as a new, rotated pattern. Autodesk lists “Rotate Custom Fill Pattern Definition” under the Revit 2027.1 release in What’s New, so check that your 2027 build has it.
- Model patterns on an element: hover over a pattern line and press TAB until it highlights, then click it. On the Modify tab > Modify panel, click Rotate and rotate the pattern. Some elements, such as ramps, do not allow it.
- Drafting patterns in older versions: they cannot be rotated in the view. The usual fix is a second .pat file, or a second pattern in the same file, with the lines drawn at the new angle. Then make a second filled region type for it.
How to Create a Hatch Pattern in Revit
You have three options, from easiest to most flexible.
1. Make a simple pattern inside Revit
For plain lines you need no file. Open Fill Patterns as above, pick Model or Drafting, click New fill pattern, type a name and set Type to Basic. Choose Parallel lines or Crosshatch, then enter the line angle and the line spacing. For crosshatch you enter two spacings.
2. Write a .pat file in Notepad
For bricks, tiles and anything with a repeat, a text file is the best route. This is the herringbone pattern from the free pack:
;%UNITS=MM
*AR-HBONE,Herringbone paving
;%TYPE=MODEL
45, 0,0, 101.6,101.6, 304.8,-101.6
135, 71.842,71.842, 101.6,-101.6, 304.8,-101.6;%UNITS=MMsets the units of every number below it.*AR-HBONE,Herringbone pavingis the pattern name, then an optional description.;%TYPE=MODELtells Revit this is a model pattern. UseDRAFTINGfor a drafting pattern.- Each line after that draws one family of lines: the angle, the x and y origin, the shift, the spacing, and then optional dash lengths. A positive dash value draws a line and a negative one leaves a gap.
Save the file with the .pat extension and import it as shown above.
3. Draw it, then export it with pyRevit
If you would rather draw a pattern than type numbers, you can build it from lines with a free tool. Learn how to create your own PAT patterns in Revit using pyRevit.
Use Your Hatch Patterns in Filled Regions and Materials
Importing only adds the pattern to the list. To see it on a drawing, put it in one of these places:
- A filled region for a 2D hatch in one view. Duplicate a filled region type and choose your pattern as its foreground fill pattern. The full steps are in our guide to filled regions in Revit.
- A material so every element of that material shows the hatch. Go to Manage tab > Settings panel > Materials, open the Graphics tab, and set the Surface Pattern (what you see from outside) or the Cut Pattern (what shows when the element is cut). See also how materials control what you see in a view.
- A legend that shows each hatch next to its name, so the sheet explains itself. See how to build a legend in Revit.
Revit Hatch Pattern Not Working? 6 Fixes
1. Revit will not import the file
Check that it is plain text and that it really ends in .pat. Windows can hide the real extension, so “brick.pat” may actually be “brick.pat.txt”. In File Explorer, open View > Show > File name extensions and rename the file if needed. Also ensure the file includes the standard Revit header lines: ;%VERSION=3.0 and ;%UNITS=MM (or INCH) at the top.
2. Only half the patterns show when browsing a .pat file
Revit strictly filters patterns by category. If you clicked New fill pattern while Drafting was selected at the top of the Fill Patterns window, Revit hides all Model patterns contained in the .pat file. To import model patterns (brick, block, herringbone, parquet, siding), close the dialog, click the Model radio button at the top, and then click New fill pattern > Custom > Browse. You can also use the separate Mashyo-Model-Patterns-6.pat and Mashyo-Drafting-Patterns-6.pat files included in our download.
3. The pattern imports as the wrong type
Add ;%TYPE=MODEL or ;%TYPE=DRAFTING on the line under the pattern name, as in the example above. An AutoCAD hatch file usually has no such line.
4. The pattern looks like a solid grey fill or is rejected
The lines are probably too close together, or the pattern is larger than Autodesk allows. Compare it with the limits in the drafting vs model section. If the lines are crowded, import the pattern again with a larger Import scale to spread them out.
5. The pattern is much too big or small
Use the scale fixes above, including the units line for patterns that are about 25 times off.
6. A model pattern is missing from the Cut Pattern list
The cut surface of a material uses drafting patterns, so a model pattern will not appear there. Pick a drafting pattern for the Cut Pattern and use the model pattern as the Surface Pattern.
Next in the free course
Communication With Others
Hatches belong to drawing documentation. This module collects the annotation lessons that come next.
Open this module in the free course
Free, tick off lessons as you go. Want a Revit file to follow along? See the practice files ($5.5/month on Patreon).
Revit Hatch Pattern FAQs
Where can I download hatch patterns for Revit?
Download the 12 free hatch patterns on this page as one .pat file, with brick, gravel, earth, concrete and more. Revit reads the same .pat format as AutoCAD, so AutoCAD hatch libraries can work too once they have the header lines Revit expects.
Can I use AutoCAD hatch patterns in Revit?
Often yes, because both programs read .pat text files. A plain AutoCAD pattern may need two extra lines before Revit accepts it: ;%UNITS=MM (or INCH) at the top of the file, and ;%TYPE=MODEL (or DRAFTING) under the pattern name. The free pack already has them.
How do I add a hatch pattern in Revit?
Go to Manage tab, Settings panel, Additional Settings, Fill Patterns. Pick Drafting or Model, click New fill pattern, set Type to Custom, browse to the .pat file, select the pattern and click OK twice.
What is the difference between a drafting and a model hatch pattern in Revit?
A drafting pattern is fixed to the sheet, so it prints at the same size at any view scale. A model pattern is fixed to the model, so it scales with the view. Use drafting patterns for material symbols in sections and model patterns for real surfaces such as brick and tile.
Why is my imported hatch pattern too big or too small?
Either the Import scale needs changing or the file and Revit disagree about units. Import the pattern again with a different Import scale. If it is about 25 times off, add ;%UNITS=MM or ;%UNITS=INCH as the first line of the .pat file.
How do I rotate a hatch pattern in Revit?
Model patterns: press TAB over a pattern line, click it, then use Rotate on the Modify tab. Custom patterns: type a Rotation angle when you import them (listed in Revit 2027.1). Older versions cannot rotate drafting patterns, so keep a second pattern drawn at the new angle.
Is there a gravel hatch pattern for Revit?
Yes. The free pack includes GRAVEL as a drafting pattern, sized to import with an Import scale of 1. Use it in a filled region or as a material cut pattern. If the stones look too big or too small, import it again with a different Import scale.
Are these hatch patterns free to use?
Yes, you can use them in your own projects. They come from the open-source QCAD pattern library (GPL v3). If you share the .pat files themselves, keep the license file that comes with the download.
Download the free patterns, import them once and keep the .pat file with your office standards. Next, learn how to create a filled region in Revit and place your new hatch on a drawing, or see what else is new in Revit 2027.

Mohamed Fakhry has helped thousands of architects and designers find their next project with step-by-step guidance on his blog, mashyo.com. About Mohamed
His journey began during his university years when he recognized the need for information-rich 3D models to accelerate learning and improve production processes. Now, Mohamed shares his expertise through Revit tutorials that are accessible to all.
